Jak automaticky přidat časovače do tréninkového videa
Tento návod je pro video, které už máte. Většina trenérů zmáčkne nahrávání, odvede lekci a zůstane jí čtyřicetiminutový soubor, jehož ruční střih, popisky a načasování by zabraly celý večer. Editor si vezme přesně tento soubor, prohlédne ho jako lidský střihač a označí, kde každý cvik a každá pauza začíná a končí.
Místo prázdného projektu dostanete seznam značek na časové ose. Opravte název, přetáhněte hranici, rozdělte sérii, vyberte vzhled, exportujte. Devadesát sekund videa, pět kroků.
Komentář ve videu je v angličtině. Kapitoly a text na této stránce jsou česky.
Přepis (anglicky)
- 0:00This is the Editor. Film your class once, and the AI cuts it, times it, and names it.
- 0:07Click New video and pick your recording. One continuous file, MP4 or MOV.
- 0:15Give it a name. The upload runs on its own while you keep working.
- 0:22Now click Analyze with AI. The Editor watches the whole video and finds every exercise and rest.
- 0:30A thirty-minute class takes a few minutes. Then your cues appear on the timeline.
- 0:38Each cue is an exercise or a rest. The preview shows exactly what the export will look like.
- 0:46Near the end of a rest, a small window shows the next exercise, so nobody scrambles.
- 0:54Click a cue to rename it, drag its edge on the timeline, or split it in two.
- 1:02Under Design, pick a timer style, your colours, font and logo. Every Creator style works here.
- 1:14Click Export MP4. New exercises can go straight into your Clips library.
- 1:21The video renders on our servers, downloads automatically, and lands under Recorded.
- 1:27Film once, check the cues, export. That's the Editor. Try it free at app.fitcutpro.com.
Další návody
Všech osm →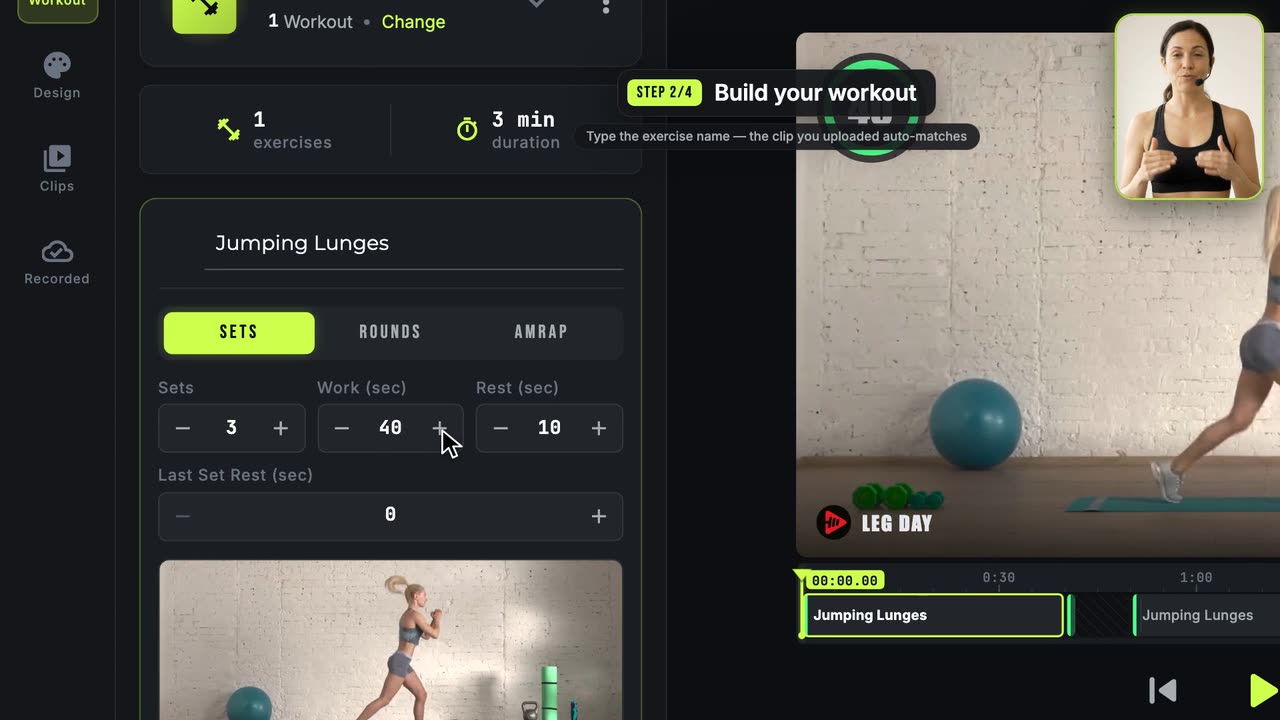 1:57
1:57Jak vytvořit své první tréninkové video
Kompletní cesta od začátku do konce: klipy, trénink, vzhled, export.
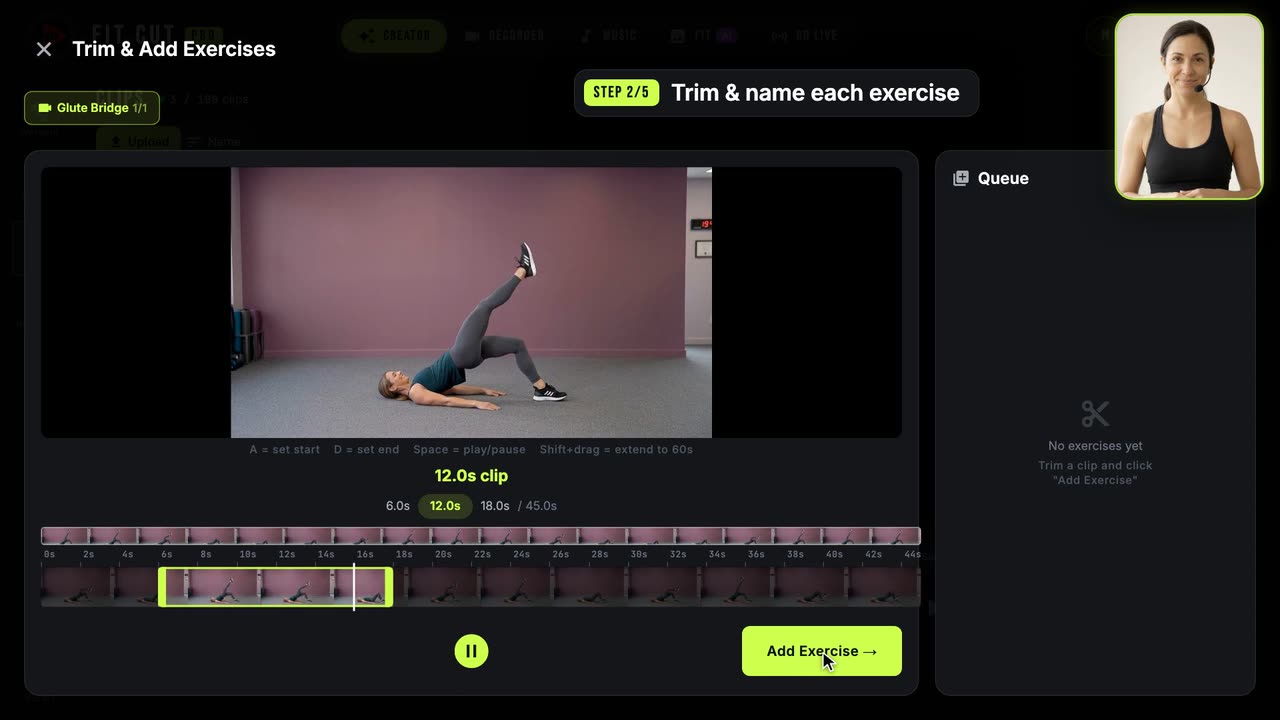 1:29
1:29Jak sestavit knihovnu klipů se cviky
Rozstříhejte jeden dlouhý záznam na pojmenované, opakovaně použitelné klipy se cviky.
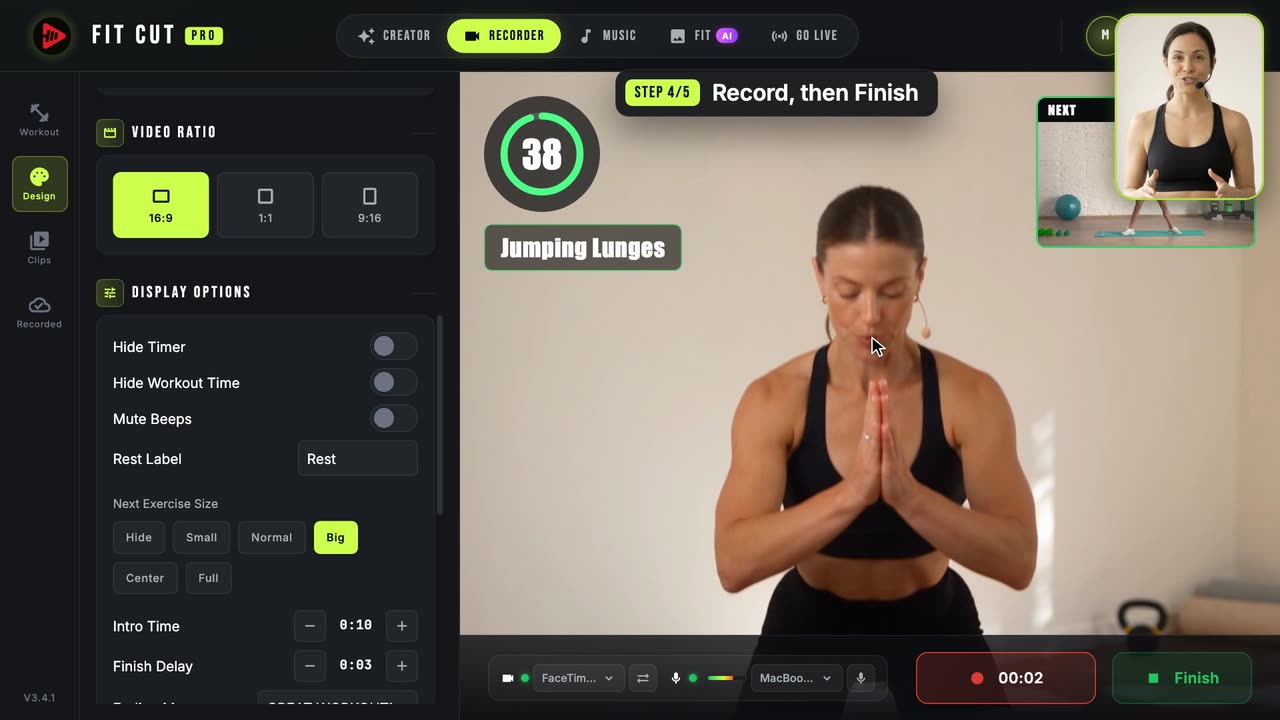 1:13
1:13Jak natočit tréninkové video s živým časovačem
Natočte se s časovačem a grafikou už vloženými do obrazu.