Zo voeg je automatisch timers toe aan een workoutvideo
Deze tutorial is voor de video die je al hebt. De meeste trainers drukken op opnemen, geven hun les en houden een bestand van veertig minuten over dat met de hand een hele avond knippen, labelen en timen zou kosten. De Editor neemt precies dat bestand, bekijkt het zoals een menselijke editor dat zou doen en markeert waar elke oefening en elke rust begint en eindigt.
In plaats van een leeg project krijg je een lijst markeringen op een tijdlijn. Corrigeer een naam, versleep een grens, splits een set, kies een ontwerp, exporteer. Negentig seconden video, vijf stappen.
De voice-over van de video is Engels. De hoofdstukken en de tekst op deze pagina zijn Nederlands.
Transcript (Engels)
- 0:00This is the Editor. Film your class once, and the AI cuts it, times it, and names it.
- 0:07Click New video and pick your recording. One continuous file, MP4 or MOV.
- 0:15Give it a name. The upload runs on its own while you keep working.
- 0:22Now click Analyze with AI. The Editor watches the whole video and finds every exercise and rest.
- 0:30A thirty-minute class takes a few minutes. Then your cues appear on the timeline.
- 0:38Each cue is an exercise or a rest. The preview shows exactly what the export will look like.
- 0:46Near the end of a rest, a small window shows the next exercise, so nobody scrambles.
- 0:54Click a cue to rename it, drag its edge on the timeline, or split it in two.
- 1:02Under Design, pick a timer style, your colours, font and logo. Every Creator style works here.
- 1:14Click Export MP4. New exercises can go straight into your Clips library.
- 1:21The video renders on our servers, downloads automatically, and lands under Recorded.
- 1:27Film once, check the cues, export. That's the Editor. Try it free at app.fitcutpro.com.
Meer tutorials
Alle acht →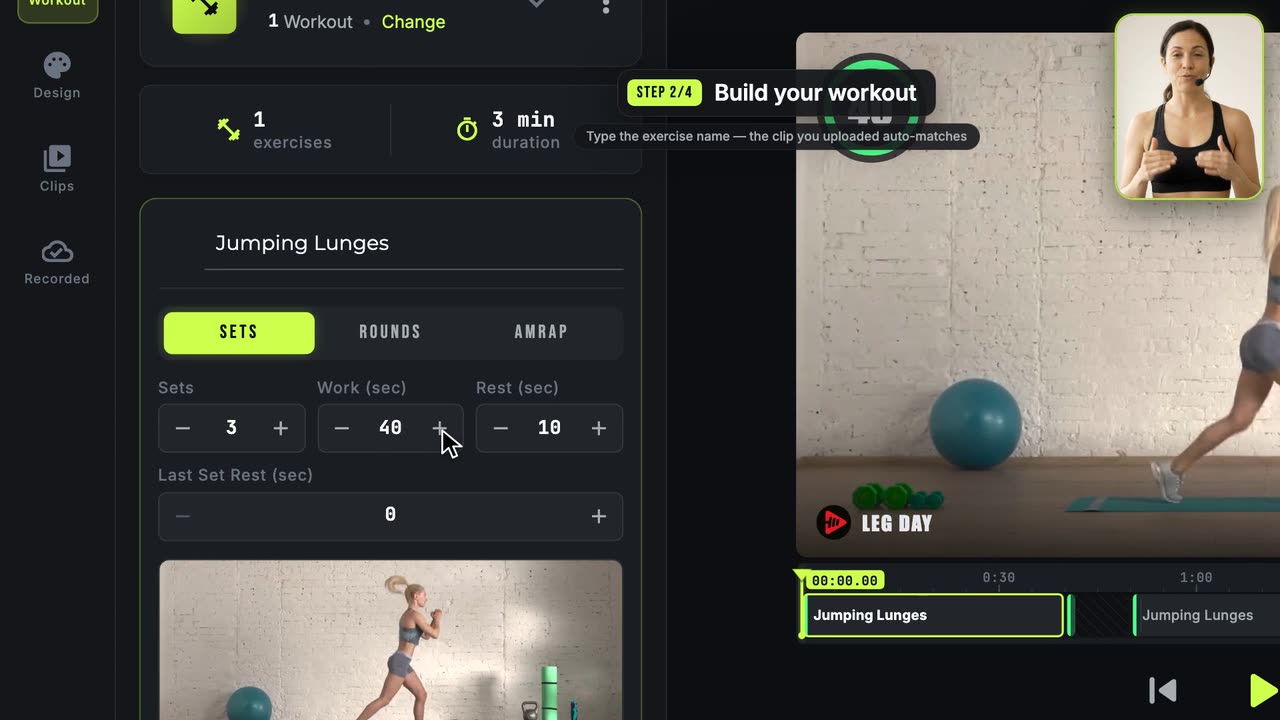 1:57
1:57Zo maak je je eerste workoutvideo
De complete route van begin tot eind: clips, workout, ontwerp, export.
 1:29
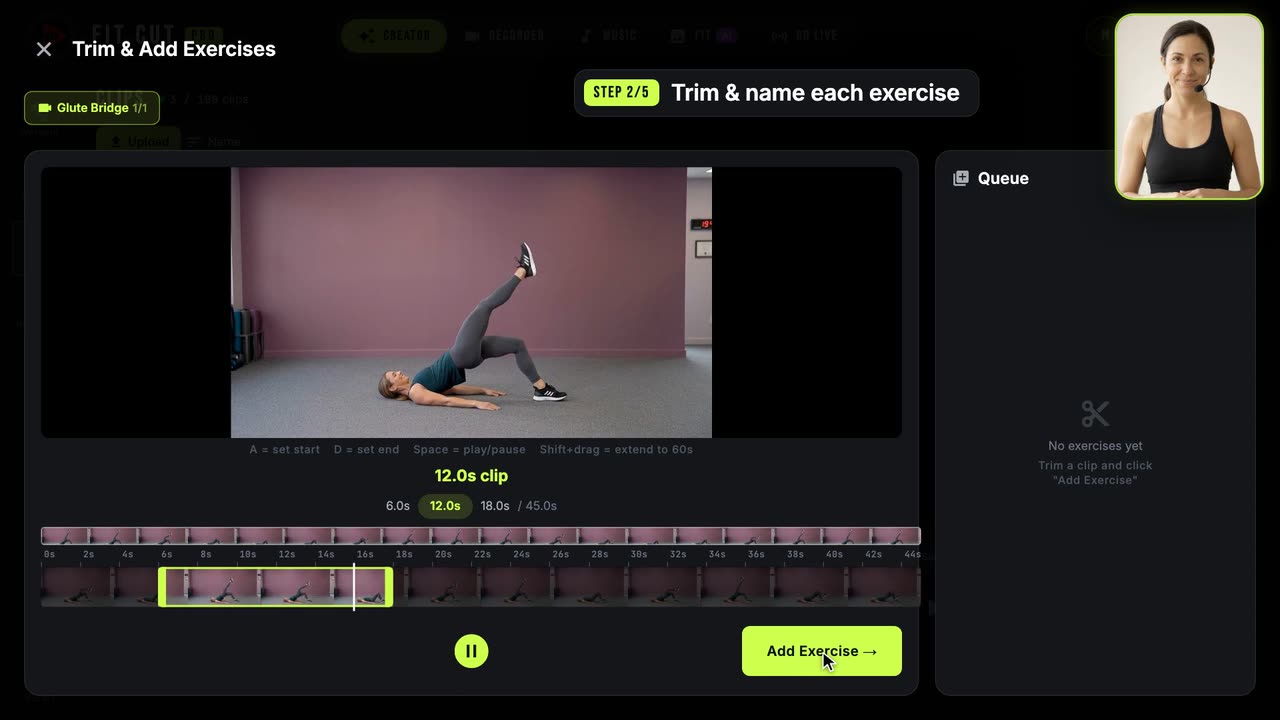
1:29Zo bouw je je bibliotheek met oefenclips
Knip één lange opname in benoemde, herbruikbare oefenclips.
 1:13
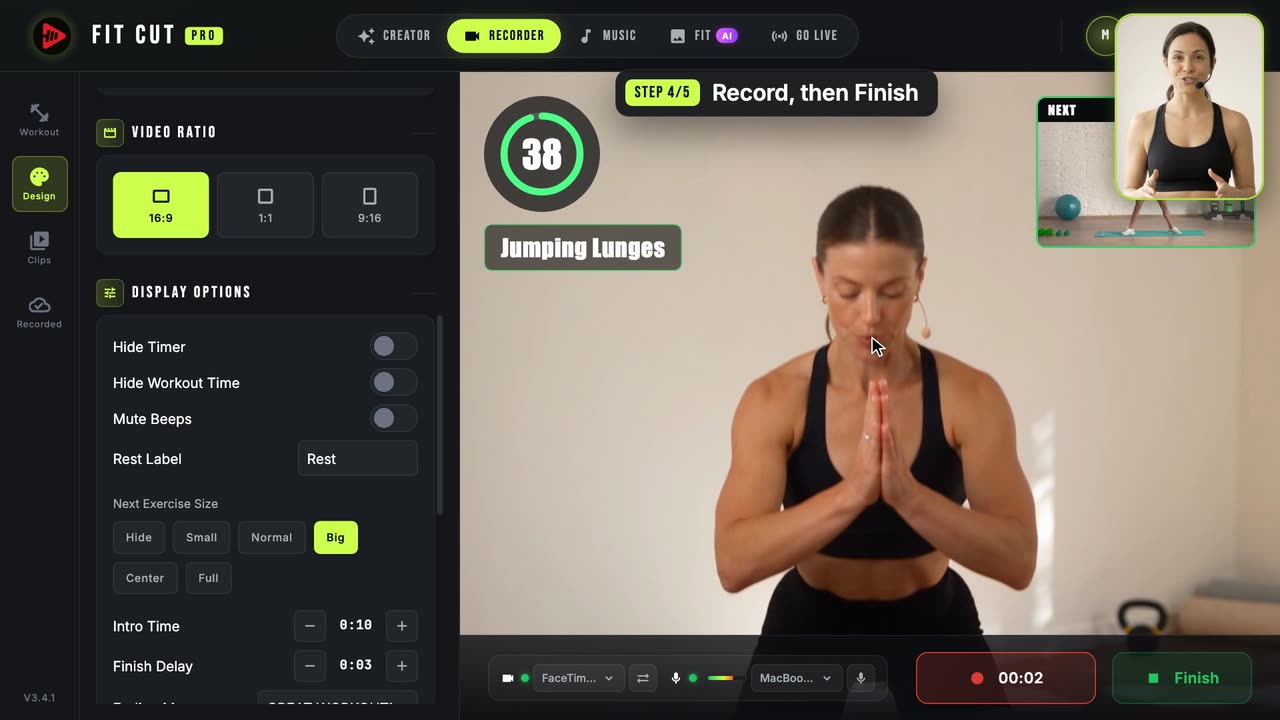
1:13Zo neem je een workoutvideo op met een live timer
Film jezelf met de timer en de graphics al in het beeld gebrand.