איך מוסיפים טיימרים לסרטון אימון באופן אוטומטי
המדריך הזה מיועד לסרטון שכבר יש לכם. רוב המאמנים לוחצים על הקלטה, מעבירים את השיעור ונשארים עם קובץ של ארבעים דקות שחיתוך, תיוג ותזמון ידניים שלו היו לוקחים ערב שלם. העורך לוקח בדיוק את הקובץ הזה, צופה בו כמו עורך אנושי ומסמן היכן כל תרגיל וכל מנוחה מתחילים ונגמרים.
במקום פרויקט ריק מקבלים רשימת סימונים על טיימליין. מתקנים שם, גוררים גבול, מפצלים סט, בוחרים עיצוב ומייצאים. תשעים שניות של וידאו, חמישה שלבים.
הקריינות בסרטון באנגלית. הפרקים והטקסט בעמוד הזה בעברית.
תמליל (אנגלית)
- 0:00This is the Editor. Film your class once, and the AI cuts it, times it, and names it.
- 0:07Click New video and pick your recording. One continuous file, MP4 or MOV.
- 0:15Give it a name. The upload runs on its own while you keep working.
- 0:22Now click Analyze with AI. The Editor watches the whole video and finds every exercise and rest.
- 0:30A thirty-minute class takes a few minutes. Then your cues appear on the timeline.
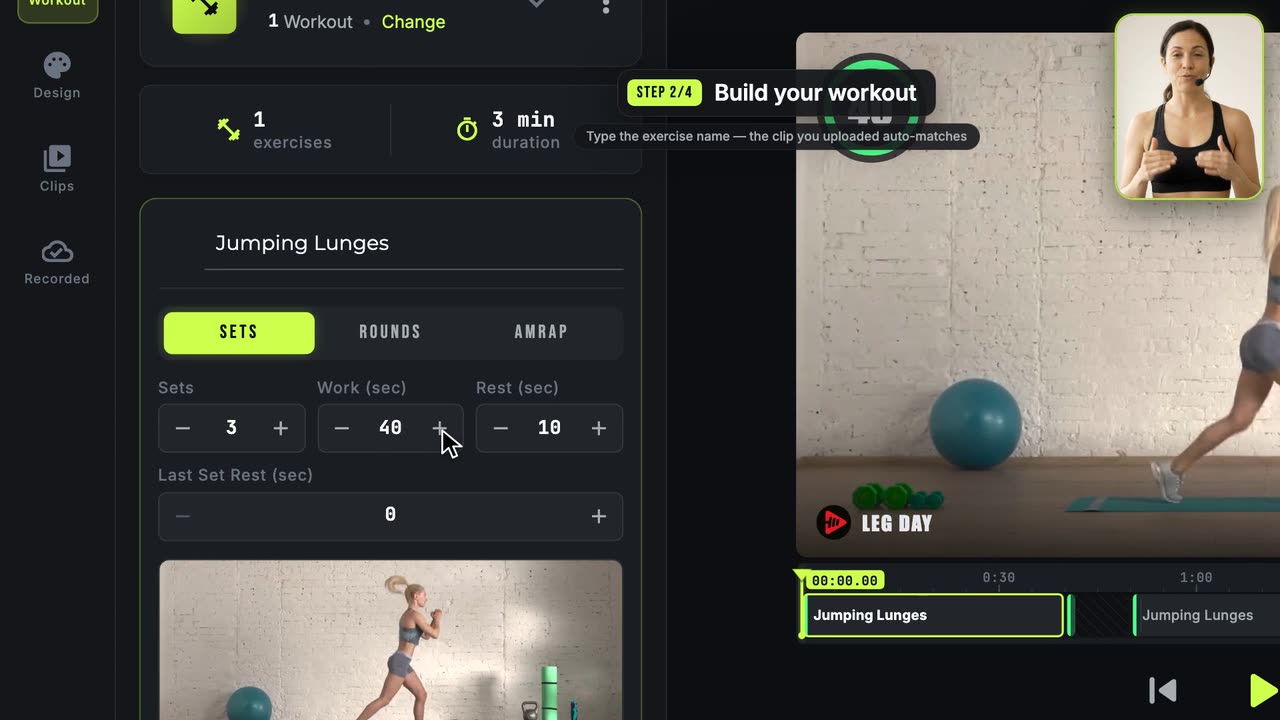
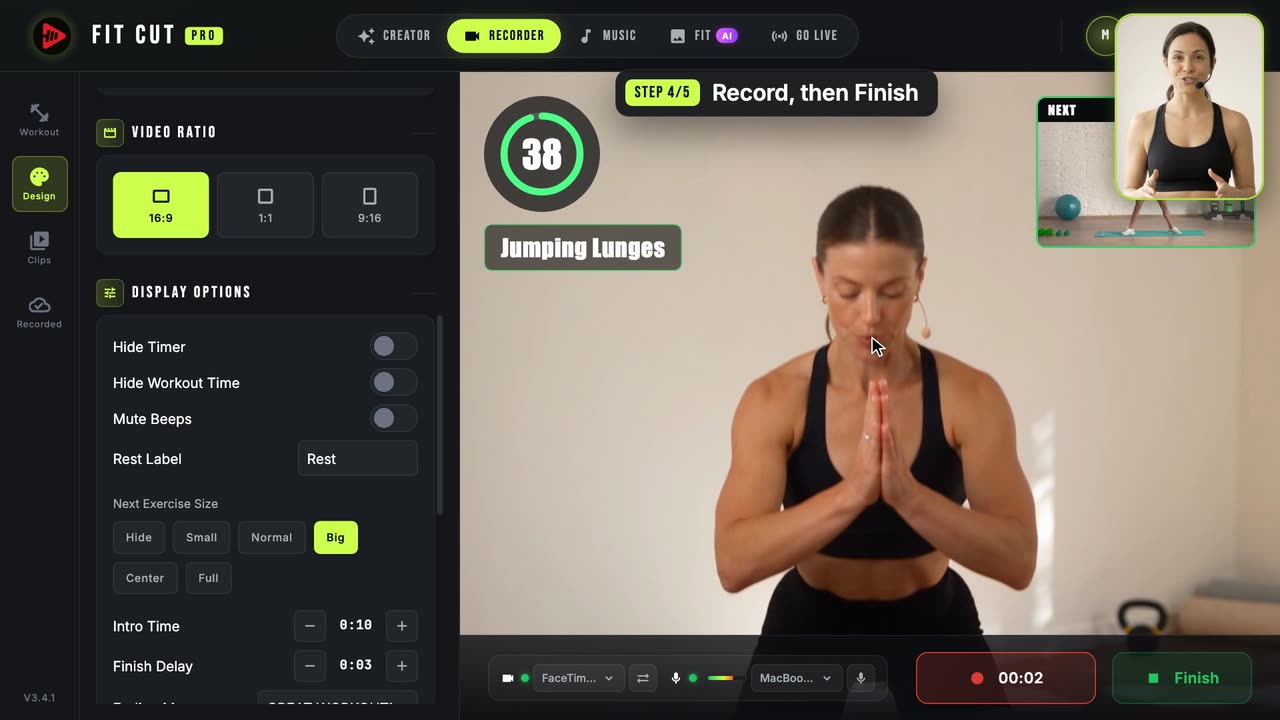
- 0:38Each cue is an exercise or a rest. The preview shows exactly what the export will look like.
- 0:46Near the end of a rest, a small window shows the next exercise, so nobody scrambles.
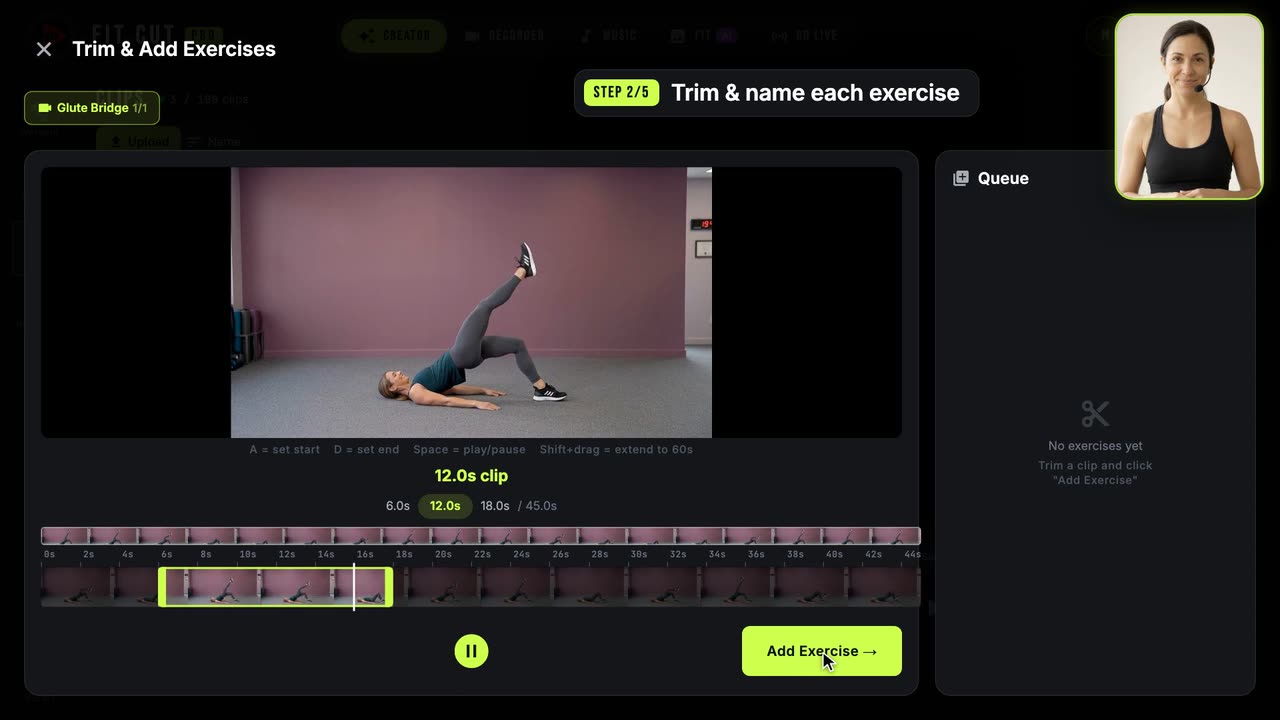
- 0:54Click a cue to rename it, drag its edge on the timeline, or split it in two.
- 1:02Under Design, pick a timer style, your colours, font and logo. Every Creator style works here.
- 1:14Click Export MP4. New exercises can go straight into your Clips library.
- 1:21The video renders on our servers, downloads automatically, and lands under Recorded.
- 1:27Film once, check the cues, export. That's the Editor. Try it free at app.fitcutpro.com.