Jak stworzyć swoje pierwsze wideo treningowe
To cały proces, od początku do końca. Wgrywasz kilka klipów z ćwiczeniami, budujesz z nich trening, wybierasz wygląd timerów i brandingu i eksportujesz gotowy MP4. Bez osi czasu, bez klatek kluczowych, bez doświadczenia w montażu.
Kolejność ma znaczenie. Najpierw klipy: gdy są w bibliotece, pole nazwy ćwiczenia podpowiada je automatycznie, a podgląd ożywa w chwili wyboru. Jeśli najpierw zbudujesz plan, każde ćwiczenie pozostanie oznaczone jako bez klipu.
Narracja w wideo jest po angielsku. Rozdziały i tekst na tej stronie są po polsku.
Transkrypcja (angielski)
- 0:00Welcome to Fit Cut Pro. Let's build your first workout video in four steps.
- 0:07Start in Clips — this is your exercise library.
- 0:10Click Upload Clips, and name each file after the exercise — like Jumping Lunges dot M P 4. That's how clips match your workout automatically.
- 0:19Pick your files, then trim each clip to its best twelve seconds or so, and add it to the queue.
- 0:31Finish uploads everything. A moment later, all three clips are ready.
- 0:36Now open Workout, and click Add Exercise.
- 0:44Start typing the exercise name. Your uploaded clip appears — pick it, and the preview comes alive.
- 0:51Set the sets, work, and rest times with plus and minus.
- 0:57Add the rest of your exercises the same way.
- 1:09Then hit Save. Fit Cut Pro also autosaves as you go.
- 1:14Open Design to make it yours.
- 1:17Pick a theme color,
- 1:24and set the aspect ratio and quality for where you'll post — nine by sixteen for Instagram and TikTok.
- 1:32Ready? Click Export.
- 1:36Your video renders on our servers, so keep the tab open. It usually takes a couple of minutes.
- 1:43Done! Download your MP4 and share it anywhere.
- 1:49That's your first workout video. Next, explore Recorder, Fit AI, and Go Live from the top bar.
Więcej samouczków
Wszystkie osiem →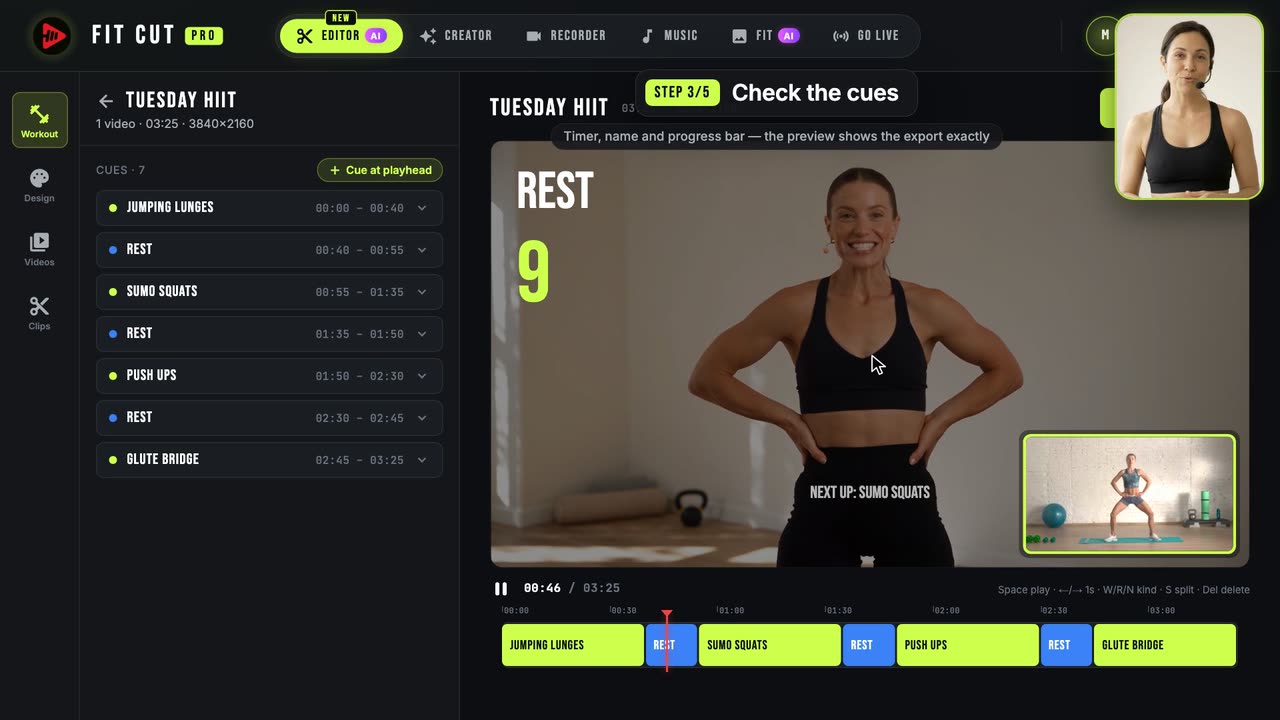 1:35
1:35Jak automatycznie dodać timery do wideo treningowego
Jedno nagranie na wejściu, gotowe wideo treningowe na wyjściu: AI znajduje ćwiczenia i przerwy, Ty sprawdzasz znaczniki i eksportujesz.
 1:29
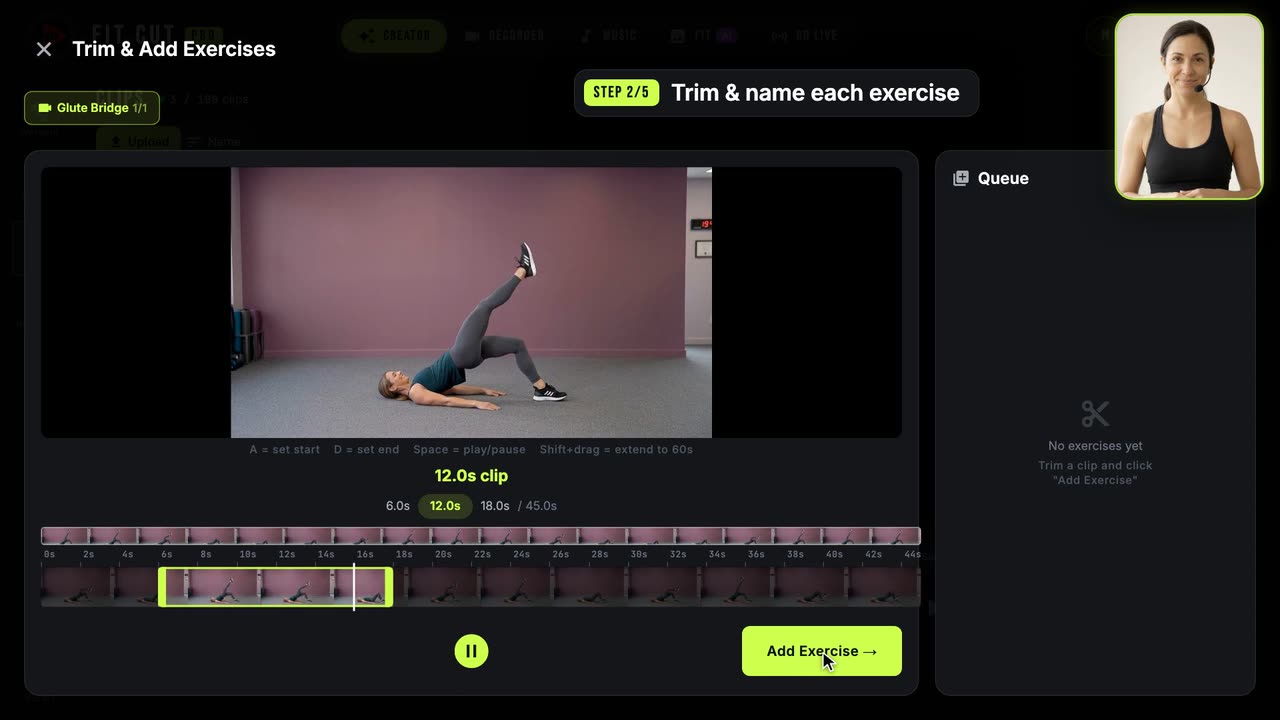
1:29Jak zbudować bibliotekę klipów z ćwiczeniami
Potnij jedno długie nagranie na nazwane klipy z ćwiczeniami do wielokrotnego użytku.
 1:13
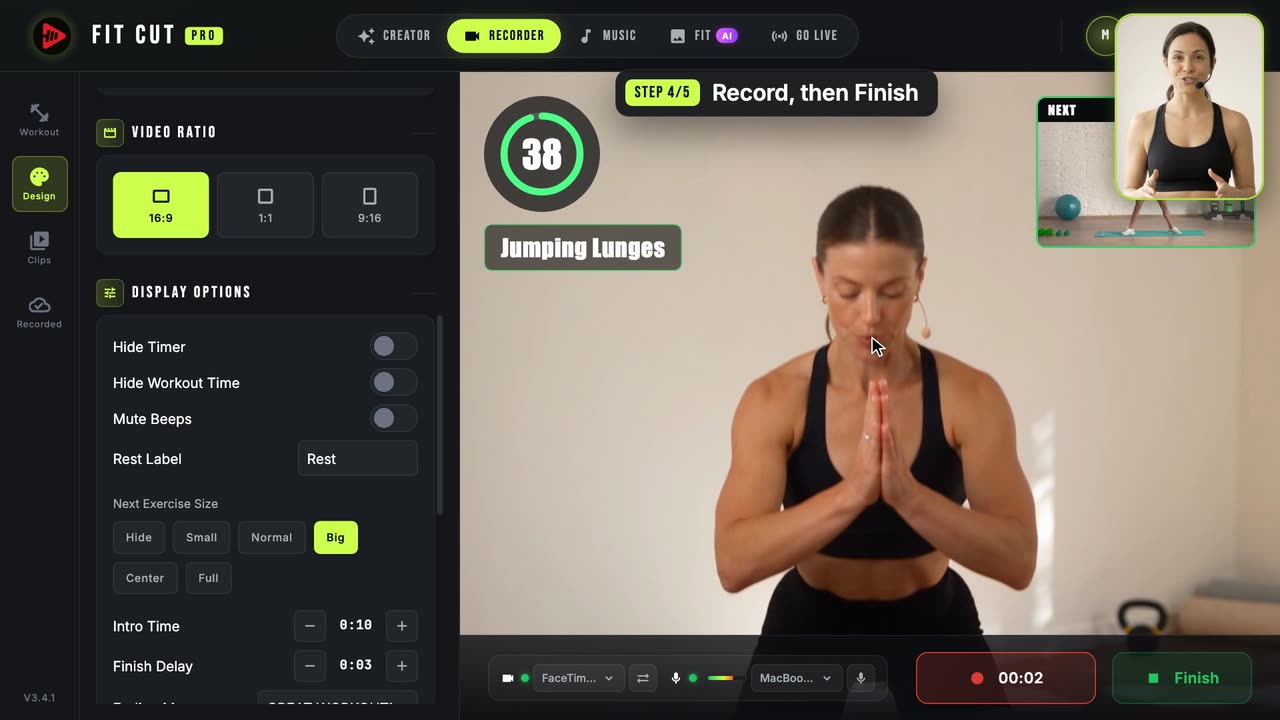
1:13Jak nagrać wideo treningowe z timerem na żywo
Nagraj siebie z timerem i grafikami już wtopionymi w obraz.