How to Add Timers to a Workout Video Automatically
This one is for the video you already have. Most trainers press record, run the class, and end up with a forty-minute file that would take an evening to cut, label and time by hand. The Editor takes that file, watches it the way a human editor would, and marks where every exercise and rest starts and ends.
You get a list of cues on a timeline instead of a blank project. Fix a name, drag a boundary, split a set, pick a design, export. Ninety seconds of video, five steps.
Transcript
- 0:00This is the Editor. Film your class once, and the AI cuts it, times it, and names it.
- 0:07Click New video and pick your recording. One continuous file, MP4 or MOV.
- 0:15Give it a name. The upload runs on its own while you keep working.
- 0:22Now click Analyze with AI. The Editor watches the whole video and finds every exercise and rest.
- 0:30A thirty-minute class takes a few minutes. Then your cues appear on the timeline.
- 0:38Each cue is an exercise or a rest. The preview shows exactly what the export will look like.
- 0:46Near the end of a rest, a small window shows the next exercise, so nobody scrambles.
- 0:54Click a cue to rename it, drag its edge on the timeline, or split it in two.
- 1:02Under Design, pick a timer style, your colours, font and logo. Every Creator style works here.
- 1:14Click Export MP4. New exercises can go straight into your Clips library.
- 1:21The video renders on our servers, downloads automatically, and lands under Recorded.
- 1:27Film once, check the cues, export. That's the Editor. Try it free at app.fitcutpro.com.
More tutorials
All eight →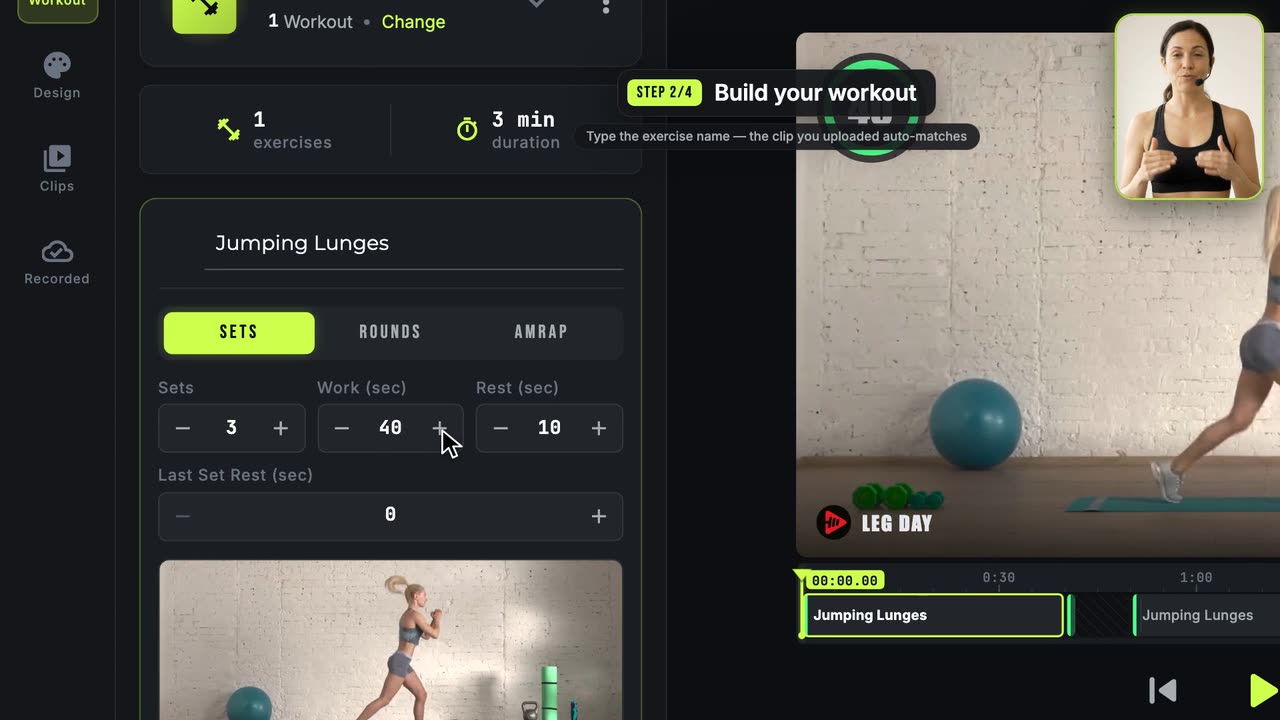 1:57
1:57How to Make Your First Workout Video
The complete golden path, start to finish: clips, workout, design, export.
 1:29
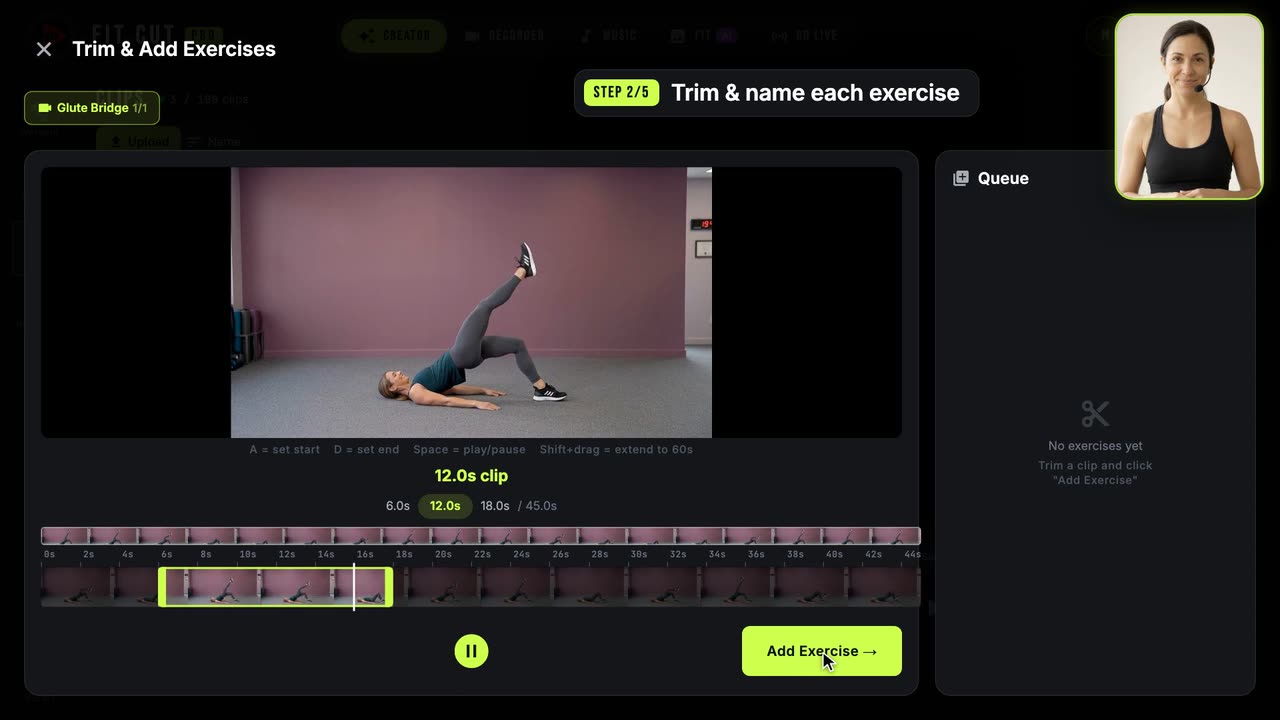
1:29How to Build Your Exercise Clip Library
Cut one long recording into named, reusable exercise clips.
 1:13
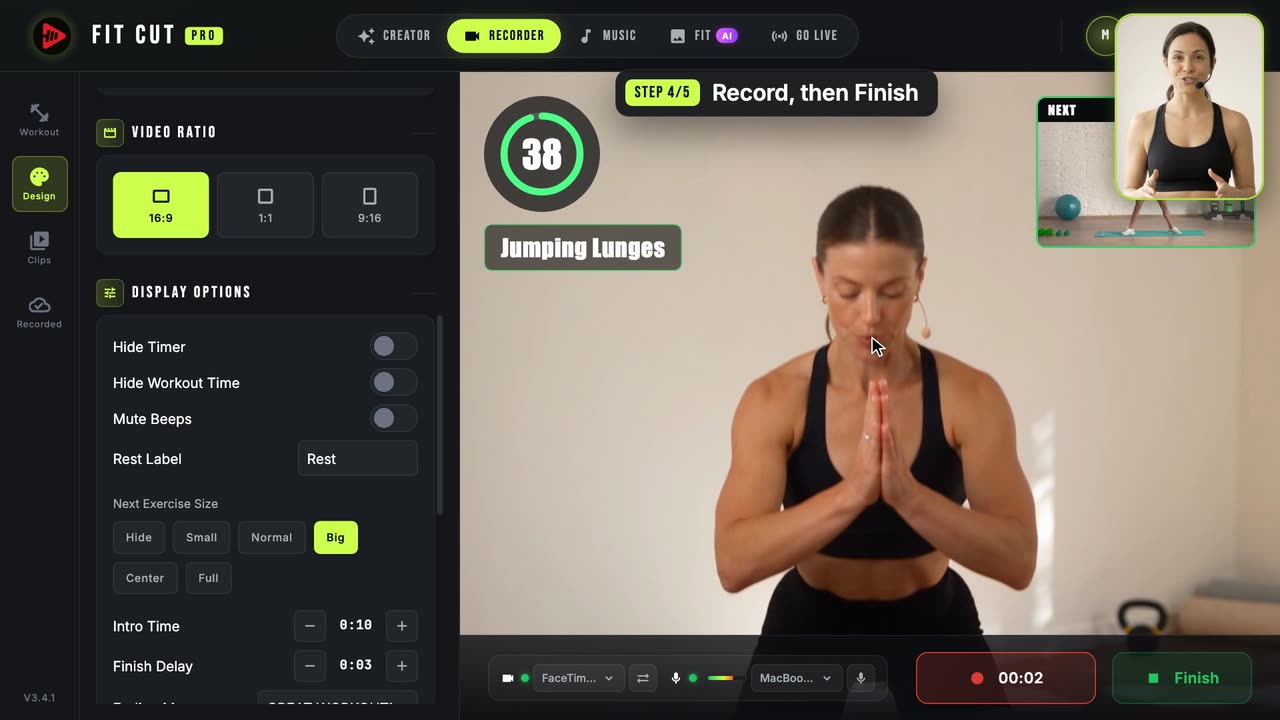
1:13How to Record a Workout Video With a Live Timer
Film yourself with the timer and graphics already burned in.